Finding water leaking from your ceiling can be scary. It’s important to act quickly to stop further damage and avoid expensive repairs. Whether it’s a tiny drip or a big leak, knowing what to do is crucial. Water damage can weaken the structural integrity of your ceiling, potentially leading to a collapse if left unchecked. But don’t panic—by understanding the causes and taking prompt action, you can prevent such a disaster and keep your home safe and dry. This guide explains common reasons for ceiling leaks how to fix them, and who to call for help—a plumber or a roofer. With the right steps, you can fix the problem.
Table of Contents
Common Causes of Ceiling Leaks
- Roof Damage
The most common cause of water leaking from the ceiling is roof damage. This can include missing or broken shingles, damaged flashing, or clogged gutters. Roof leaks often become apparent during heavy rains or storms. - Plumbing Issues
Leaky pipes or faulty plumbing fixtures located above the ceiling can cause water to seep through. Common culprits include leaking bathtubs, toilets, or sinks. - HVAC Problems
Air conditioning units, especially those installed in the attic, can leak if not properly maintained. Condensation from the HVAC system can overflow if the drain lines are clogged or if the drip pan is damaged. - Condensation
In some cases, water leaking from the ceiling may be due to condensation. This can occur in areas with high humidity or poor ventilation, leading to moisture buildup and eventual leaks. - Ice Dams
In colder climates, ice dams can form on the edges of roofs, preventing melting snow from draining properly. The trapped water can then seep under the shingles and into the home, causing leaks.
Immediate Actions to Take
- Turn Off Power: Shut off power to the affected area to prevent electrical shock.
- Manage Electrical Fixtures: If there are any electrical cables or light fixtures nearby, unscrew them and lower them slightly.
- Turn Off the Water Supply: Shut off the main water supply to prevent further damage.
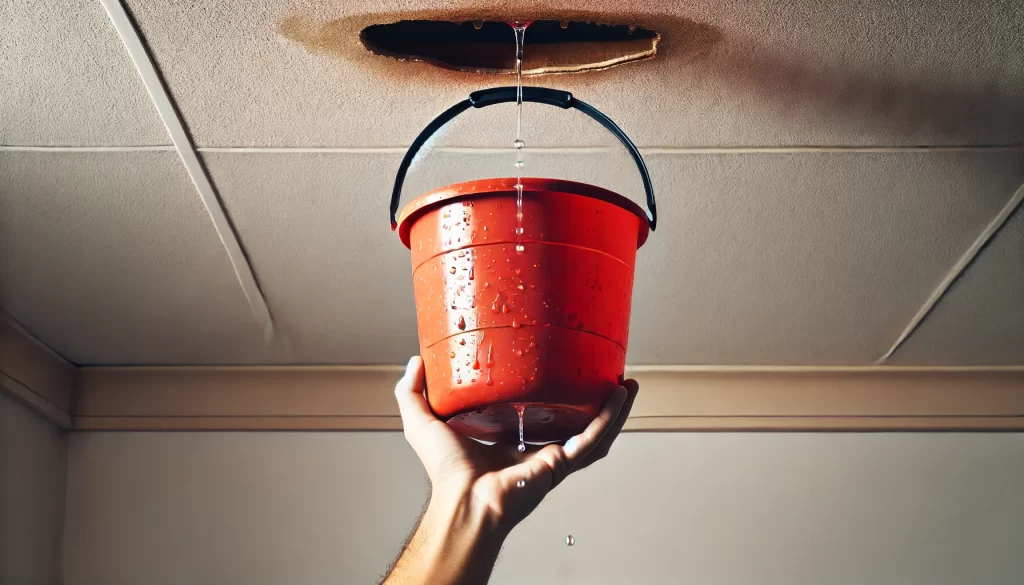
- Contain the Leak: Use buckets, towels, or plastic sheets to catch dripping water and prevent it from spreading.
Identifying the Source of the Leak
- Visual Inspection: Look for signs of water damage, such as stains, sagging, or mold.
- Check Plumbing Fixtures: Inspect toilets, sinks, and bathtubs for leaks.
- Roof Inspection: During dry weather, simulate rainfall by spraying the roof with a hose to identify leaks.
- HVAC System: Check for condensation or leaks from the air conditioning unit.
- Look for Condensation: Identify areas with poor ventilation or high humidity and check for moisture buildup.
- Check for Ice Dams: During winter, inspect the roof edges for ice dams and look for water stains on the ceiling.
If you can’t find the source immediately, consider hiring a professional to inspect your roof and plumbing system.
Fixing the Leak
Once you’ve identified the source of the leak, follow these steps to fix the problem and restore your ceiling.
Step 1: Drain the Leak
Use a screwdriver to poke a small hole in the ceiling to relieve water pressure and prevent further damage. If the leak is under an area with a kitchen, bathroom, or other plumbing, this is likely the source of the problem. Other potential causes include damaged flashing around a roof pipe, a pierced gutter, or a skylight that isn’t properly sealed.
Step 3: Remove the Damaged Ceiling
Cut a square around the affected area to remove the damaged drywall. Dispose of the damaged material. For larger holes, you may need to cut back the drywall to the center of each framing member to create a square hole that is easier to patch.
Step 4: Replace the Damaged Ceiling
Cut a new piece of drywall to size and insert it into the hole. Use screws to secure it in place. For small patches up to 2 inches x 2 inches (5 cm x 5 cm), you can use drywall paper to fasten the patch without screws. Apply joint compound and sand the area to blend it with the surrounding ceiling.
Step 5: Fix the Source of the Leak
If the leak is caused by a plumbing issue, you may need to replace pipes or fix a clogged condensate drain. If the leak is caused by a roof issue, you may need to replace shingles, seal the water-damaged area, and replace damaged wood supports.
Step 6: Clean Up and Paint
Use a trowel to apply joint compound and sand the area to blend it with the surrounding ceiling. Prime and paint the ceiling to match the surrounding area.
Additional Tips
- Keep in mind that the longer you wait to address the leak, the more extensive the damage can become.
- If you are unable to access the attic, consider hiring a professional to inspect and repair the leak.
- If you are dealing with a bathroom ceiling leak, check for potential causes such as clogged condensate drains, overflowing pans, or plumbing issues.
Who to Call for Water Leaking in the Ceiling: Plumber or Roofer?
When you discover water leaking from your ceiling, determining who to call can be confusing. The right professional to address the issue depends on the source of the leak.
When to Call a Plumber
Call a plumber if the leak originates from:
- Bathrooms or Kitchens: If the leak is directly below a bathroom or kitchen, it could be due to faulty plumbing, such as leaking pipes, overflowing sinks, or clogged drains.
- Plumbing Fixtures: If you notice leaks around toilets, sinks, bathtubs, or showers, a plumber can inspect and repair these fixtures.
- Condensate Drains: For HVAC systems, a clogged or leaking condensate drain can cause water to drip through the ceiling.
- Water Supply Lines: If the leak occurs when water is being used, it might be from a cracked or burst supply line.
When to Call a Roofer
Call a roofer if the leak is due to:
- Roof Damage: If the leak appears after a rainstorm, it’s likely due to damaged shingles, flashing, or other roofing materials.
- Skylights: Leaks around skylights are typically caused by improper sealing or damage to the skylight itself.
- Roof Vents: If the leak is near roof vents or chimneys, it could be due to issues with the flashing or sealing around these structures.
- Gutters and Downspouts: Overflowing or damaged gutters can cause water to seep into the roof and ceiling.
When to Call Both
In some cases, you might need to call both a plumber and a roofer:
- Complex Leaks: If the source of the leak is unclear, both professionals may need to inspect different parts of your home to identify and fix the problem.
- Multiple Issues: Sometimes, a roof leak can cause damage to plumbing fixtures, or vice versa, requiring both professionals to address the full scope of the damage.
watch this video from Ryan Seeley to see some of the steps we talked about in action.
Conclusion
Dealing with a ceiling leak can be daunting, but taking immediate action and identifying the cause are crucial steps to prevent further damage. By understanding common causes like roof damage, plumbing issues, and HVAC problems, you can effectively address the leak. Whether you handle the repairs yourself or call a professional, prompt attention ensures the safety and integrity of your home.