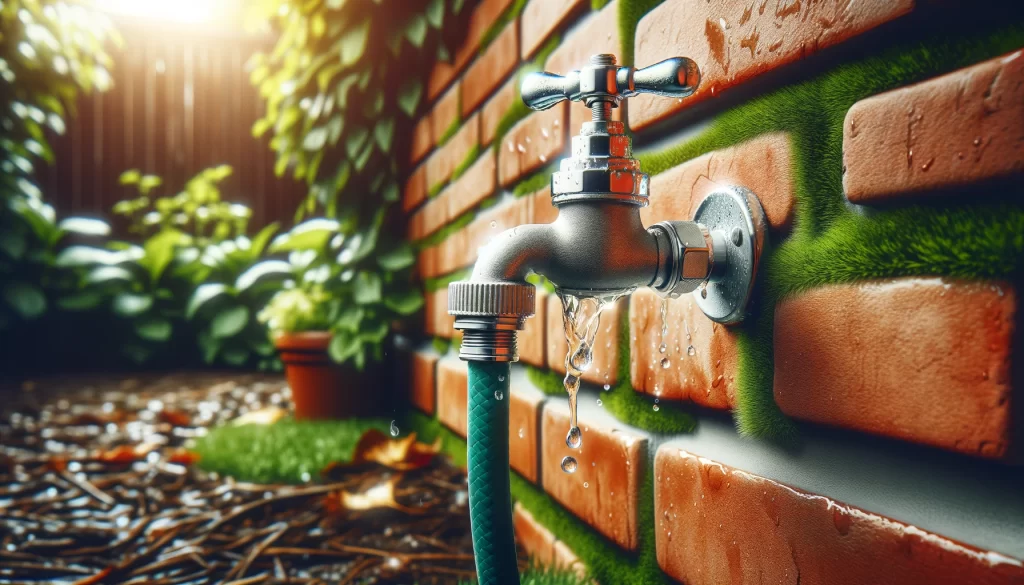
A leaky outdoor faucet can lead to wasted water and potential damage to your home’s foundation. Fortunately, fixing a leaky faucet is a straightforward DIY task that can save you both time and money. In this guide, we’ll walk you through the process step-by-step.
In this article, we will cover:
Tools Required
- Adjustable wrench
- Phillips screwdriver
- Flathead screwdriver
- Utility knife
- WD-40
Materials Required
- Replacement washer
- Packing gasket
- Replacement parts for the vacuum breaker (if needed)
Understanding Outdoor Faucet Leaks
Outdoor faucet leaks can occur for several reasons, including a loose retaining nut, a worn-out washer, or issues with the vacuum breaker. Identifying the source of the leak is the first step in the repair process.
Step-by-Step Repair Guide
Tighten the Retaining Nut
- Turn off the water supply: Locate the shut-off valve inside your home and turn it off.
- Remove the handle: Unscrew the screw in the center of the handle and pull it off.
- Tighten the retaining nut: Use an adjustable wrench to tighten the retaining nut slightly. If the leak stops, you’re done. If not, continue to the next steps.
Remove the Faucet Stem
- Remove the retaining nut completely: Use your wrench to take off the retaining nut.
- Extract the faucet stem: Pull out the stem from the faucet body. This might require some twisting.
- Inspect the stem: Check for cracks or damage. If the stem is damaged, it needs to be replaced.
Replace the Washer Assembly
- Locate the washer: It’s typically found at the end of the stem.
- Remove the old washer: Use a screwdriver to remove the screw holding the washer in place.
- Install the new washer: Replace it with a new one of the same size and type.
- Reassemble the faucet: Put everything back together in the reverse order.
Remove the Vacuum Breaker Cap
- Remove the vacuum breaker cap: Use a screwdriver to remove the cap covering the vacuum breaker.
- Inspect the vacuum breaker: Look for signs of wear or damage.
Inspect and Replace Vacuum Breaker Parts
- Replace damaged parts: If the vacuum breaker components are worn out, replace them with new parts from a repair kit.
- Reassemble the vacuum breaker: Put the cap back on and ensure everything is tightly sealed.
Watch this video from Alliance for Water Efficiency(A4WE) to see the steps in action:
After completing these steps, turn the water supply back on and check for leaks. If the faucet continues to leak, further inspection or a complete replacement of the faucet may be necessary.

